Create a paylink
Create a paylink in the portal
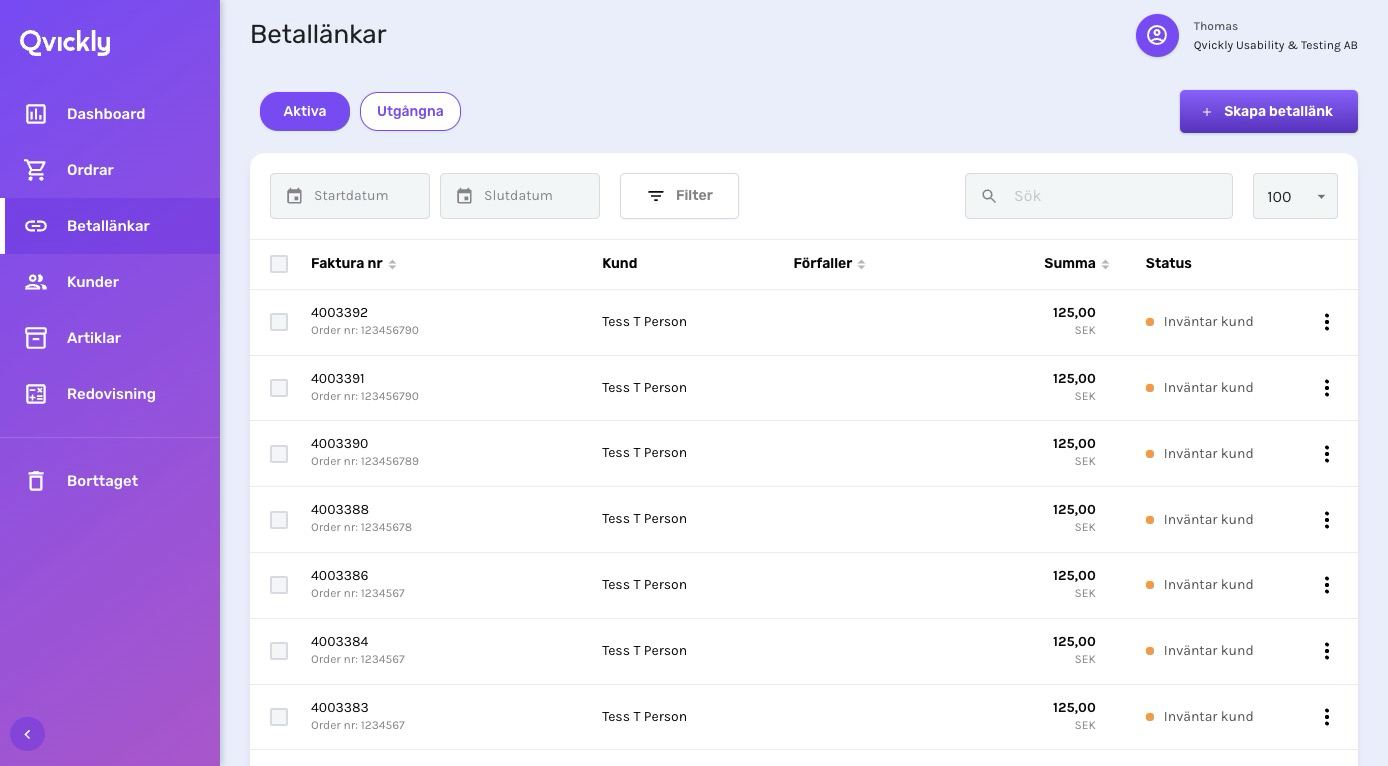
In the upper right corner, click on the New paylink (Skapa betallänk) button.
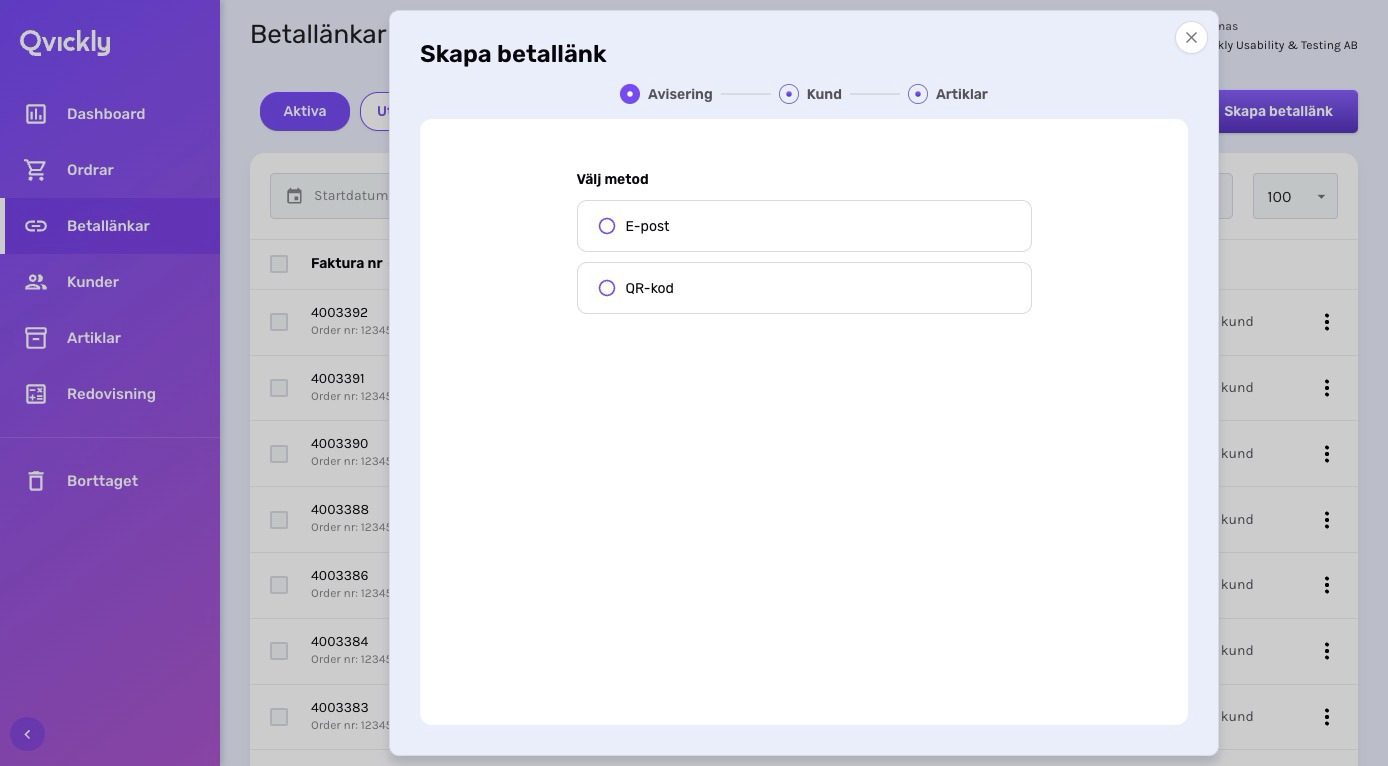
Select the method you want to use for the paylink. In this example, we use QR Code.
Using E-mail will send the paylink to the customer's e-mail address.
Using QR Code will generate a QR code that the customer can scan immediately.
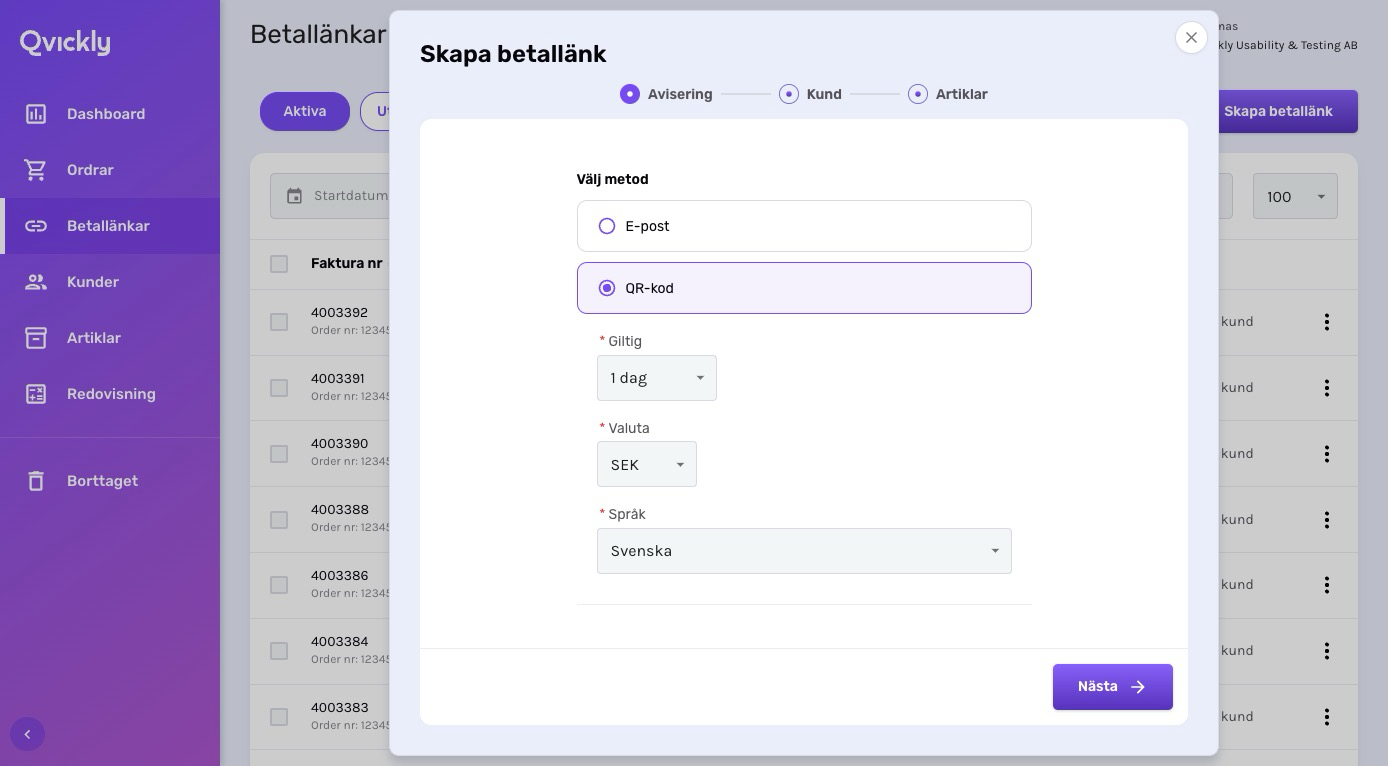
In the next step here you may change for how long the paylink is valid, the currency and the language.
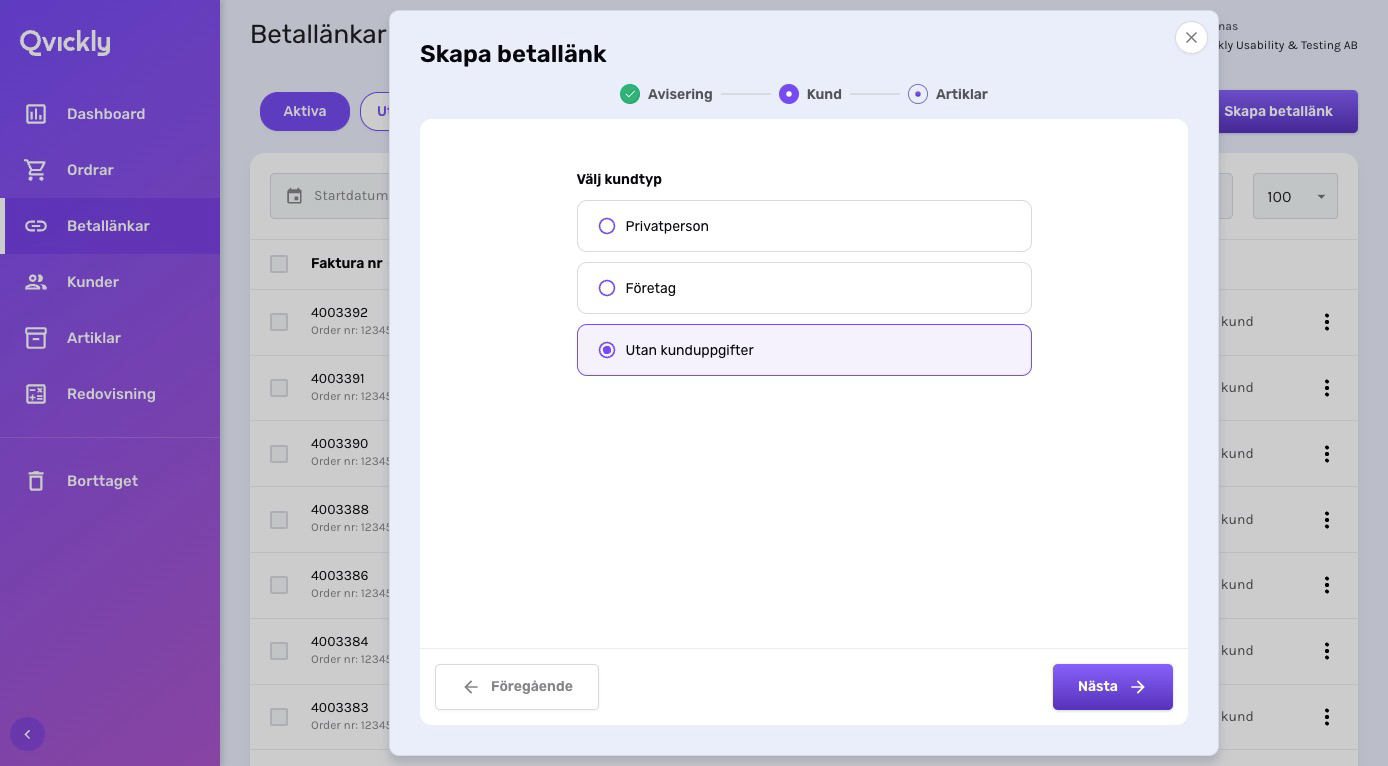
The next step is about what kind of customer information you want to include in the paylink. We can select private person, company or no information (Utan kunduppgifter) and just let the customer add the information themselves.
In this example we choose no information (Utan kunduppgifter).
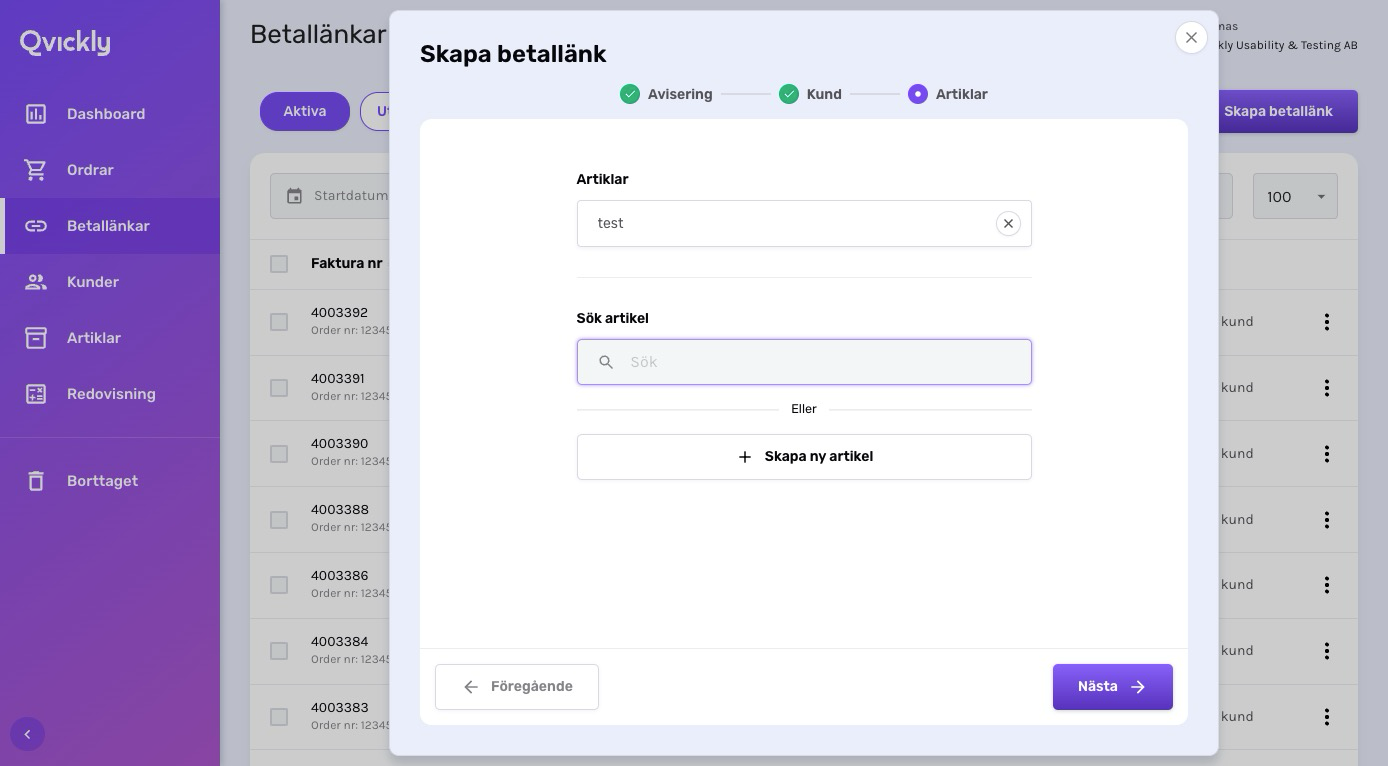
In the next step, you can add articles to the paylink. In this example, we add one article from the register. But we can also add new articles if needed.
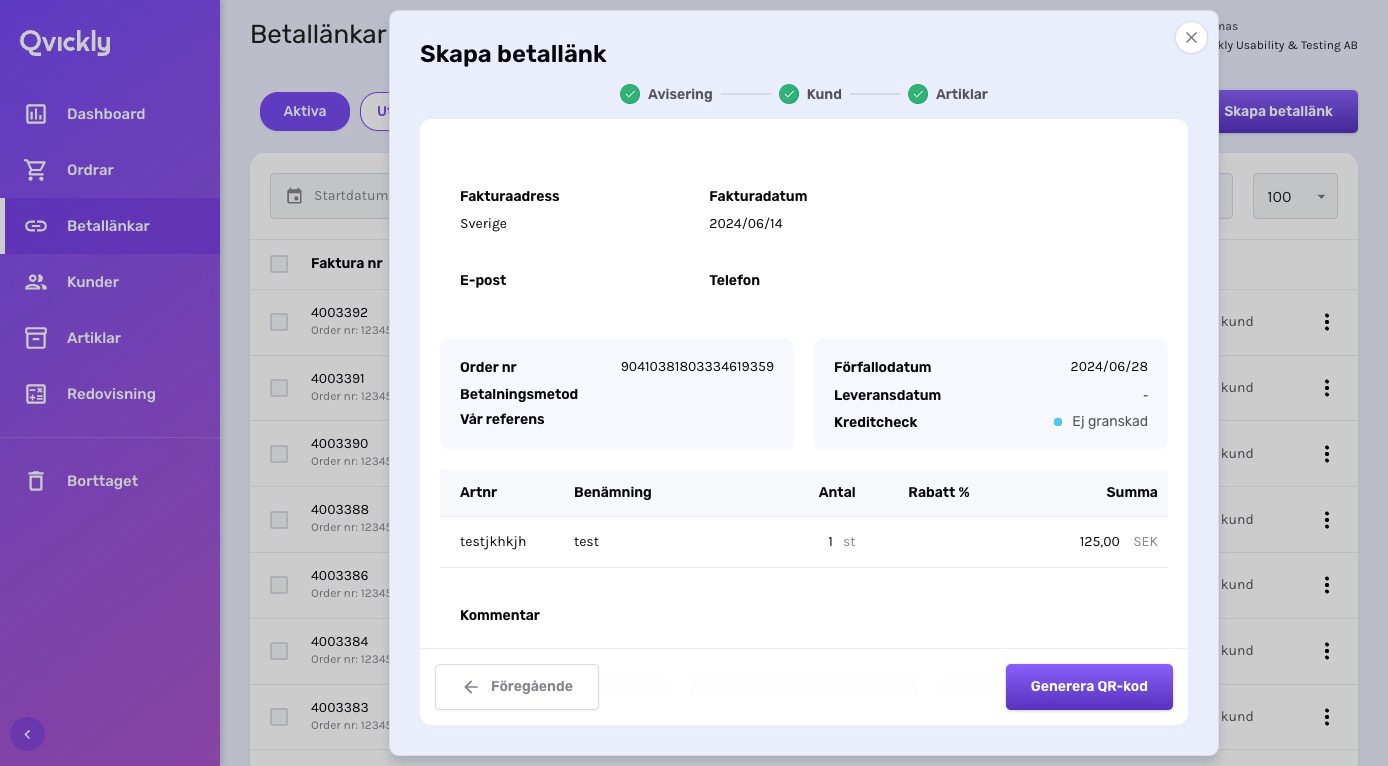
Now we can see a summary of the paylink. If everything looks good, click on the Generate QR Code (Generera QR-kod) button.
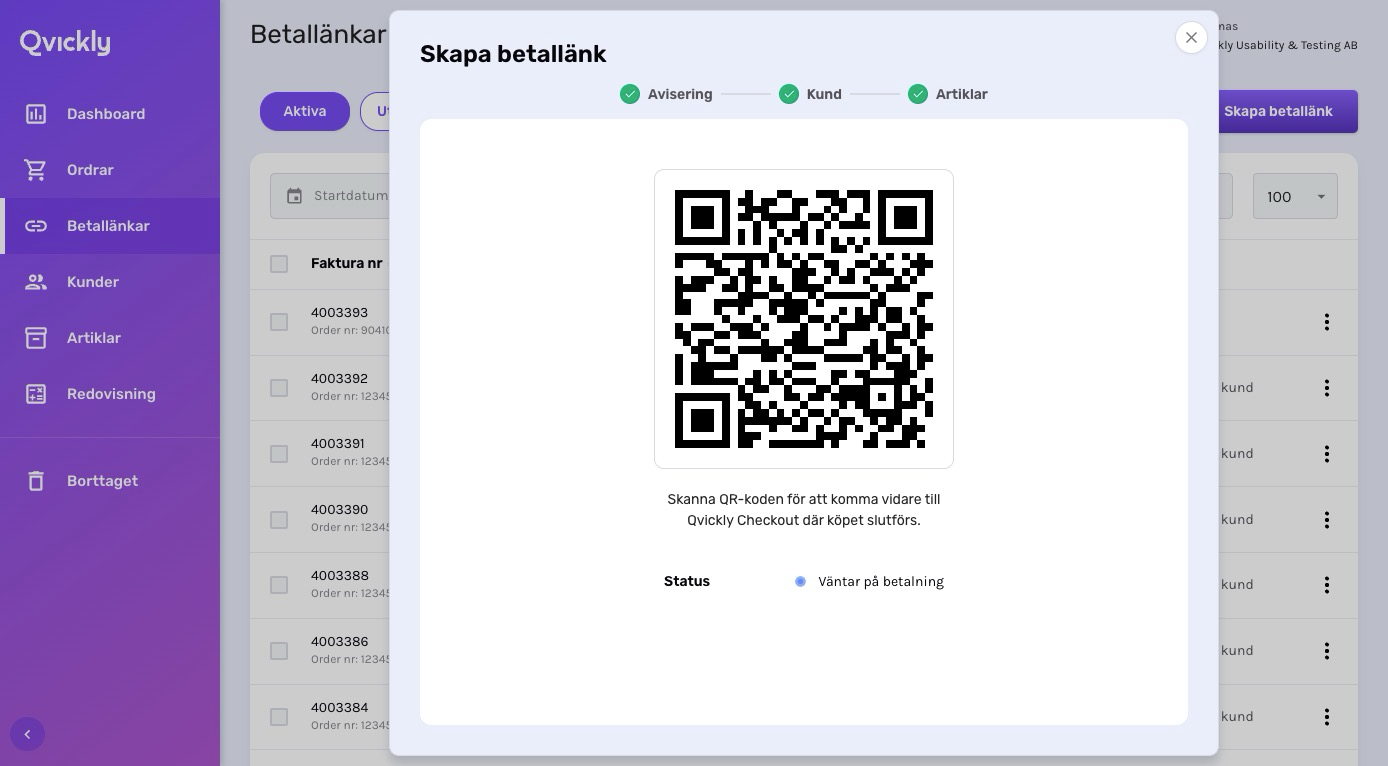
Now we have reached the end of the first part where we let the customer scan the QR code. The customer will be redirected to the nin page where can add their information and complete the purchase.
Create a paylink through the API
Step 1 - Create a paylink
Here is an example of how to create a paylink with customer information.
Here is an example of how to create a paylink with customer information.
See here for more information about addpayment request.
Endpoint URL
The API endpoint URL can be found in the documentation here.
Method 256
The method parameter is set to 256 which means that the payment method will be a paylink. This request must be sent as an HTTP POST to the API endpoint.
Autocancel
The autocancel parameter is the number of minutes before the paylink is automatically cancelled. Normally the default value is 2880 minutes (48 hours) but since we more or less just create a payment we have to set the value ourselves.
Response with paylink
When we've received the response we can use the url to redirect the customer to the paylink. More on how to redirect the customer in the next step.
Expected errors
Code | Message |
|---|---|
9011 | Invalid credentials. |
9013 | Authentication is failed. Please double check the key and the EID you are sending are correct |
Other Error codes here.
Step 2 - Redirect the customer to the paylink
Choose nin, pay or nothing?
If the customer has all the information needed, the customer should be redirected to the pay page. This is done by adding /pay to the URL.
If the customer needs to add more information, the customer should be redirected to the nin page. This is done by adding /nin to the URL.
If nothing is added to the URL, the system will check the address and if it is complete the customer will be redirected to the pay page, otherwise the customer will be redirected to the nin page.
Use another personal number for identification than the one in the paylink
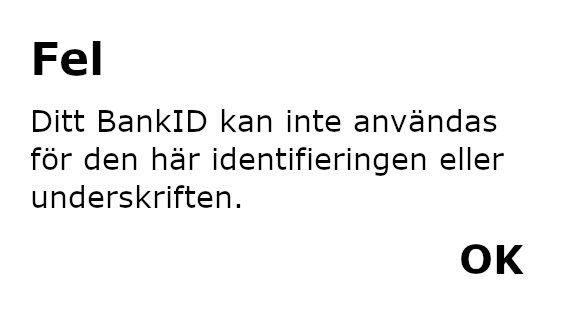
If you have created a paylink with a specified personal number and the customer tries to use another personal number for identification, then the BankID app will show an error message.
